
In this hands-on article we'll show a full example of integrating rest APIs built Django Rest Framework with a React based frontend.
We'll cover a real use case example about a "personal address book" webapp. The complete source code of our example is available in a dedicated repository: https://github.com/inmagik/blog-post-auth
In this post we'll cover (for both sever and client):
- authentication based on JWT and automatic token refresh.
- authenticated rest api for reading from a sql database
We'll use a set of opinionated tools and patterns in this tutorial and there are other tons of other ways to implement these features, but we want to showcase a real set of client and server libraries that we use in our daily job.
What we'll build is a webapp where a user can login to view and search her saved contacts. For now we'll use the automatic "admin" interface provided by Django for creating users and contacts.
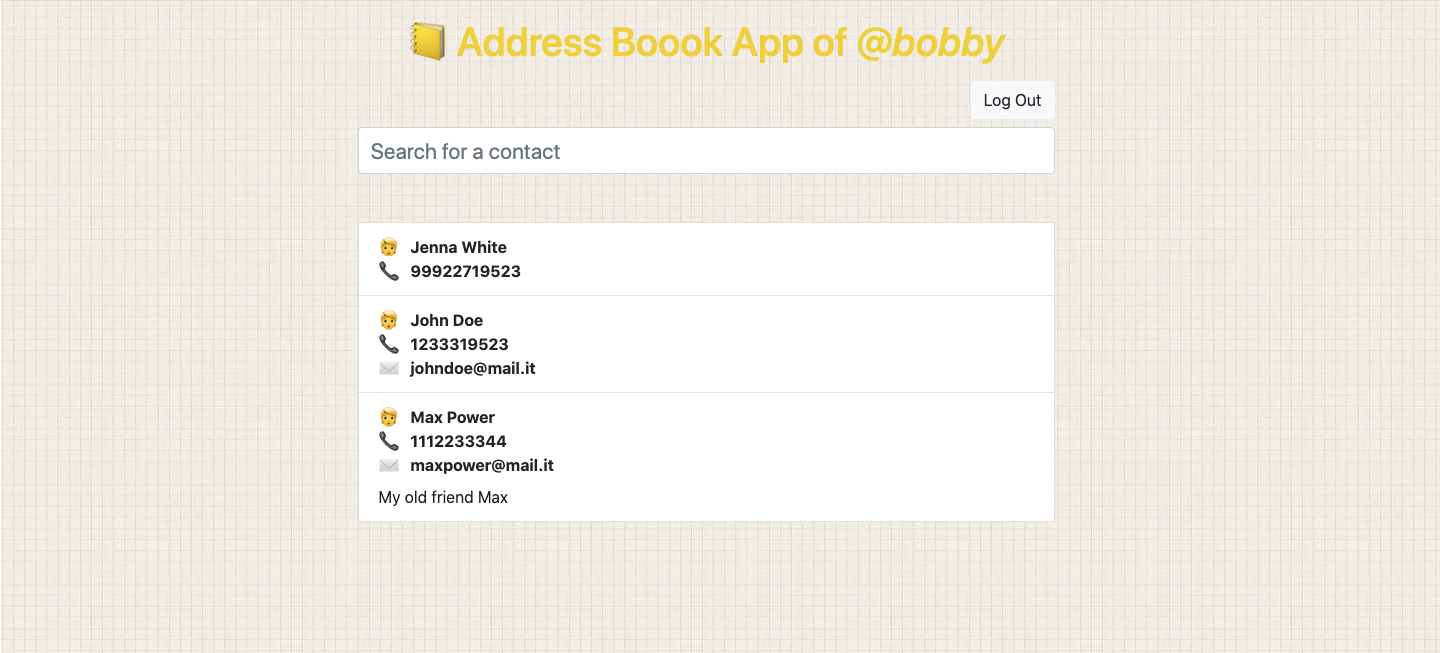
Here's a couple of screenshot of our app.
The login screen
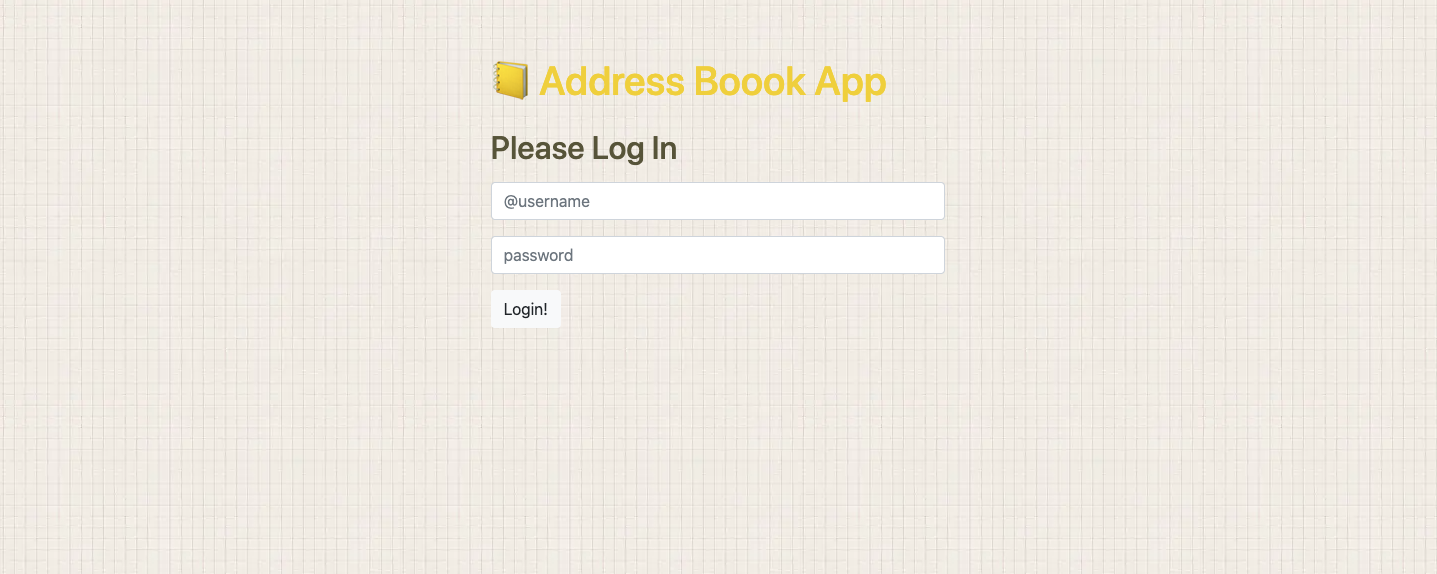
And the page where an authenticated user can see and search her contacts
API Setup (django)
We'll implement the server with Django.
Let's create a new environment and a django project. We won't go in details of django setup here, please refer to the official docs. You can find all code of the django server in the addressbook-server folder in the example repo.
Project setup
The first step is setting up a dedicated python environment and a new django project, that we'll call addressbook:
python -m venv env
source env/bin/activate
pip install django
django-admin.py startproject addressbook
Django has the concept of apps, let's create a new api app
cd addressbook-server
python manage.py startapp api
Django will create an api folder in our project.
Data Model
For semplicity, we'll implement a simple data model that holds a contact information. Let's declare the model in the models.py file in the app we just created.
# api/models.py

from django.db import models
from django.contrib.auth import get_user_model

User = get_user_model()

class Contact(models.Model):
    user = models.ForeignKey(User, models.CASCADE)
    name = models.CharField(max_length=100)
    phone = models.CharField(max_length=20)
    email = models.EmailField(null=True, blank=True)
    notes = models.TextField(null=True, blank=True)

    def __str__(self):
        return "%s - %s" % (self.name, self.phone, )
Our simple Contact model has foreign key to the User model provided by Django, which we'll use to restrict visibility of contacts to the currently logged in user and to deny access to other users' contacts.
As you can easily swipe the standard User model implementation for adding other fields and relations, we're using the get_user_model helper to make sure we're always referencing the correct model configured in Django.
To let the framework know about our model, add the api app to the INSTALLED_APPS list in django settings
# addressbook/settings.py
...
    INSTALLED_APPS = [
        ...,
        'api',
    ]
...
That's it, our model definition is complete.
To complete the data model related part, let's create a database with the django management commands (default is sqlite):
python manage.py makemigrations
python manage.py migrate
Admin setup
Let's configure django admin to show our Contact model:
# api/admin.py

from django.contrib import admin
from .models import Contact

admin.site.register(Contact)
let' create an administrative account to access the "admin" interface
python manage.py createsuperusrer
The shell will ask for an username and password, choose what you want. We can now spin up the python development server:
python manage.py runserver
and point a browser to http://localhost:8000/admin/
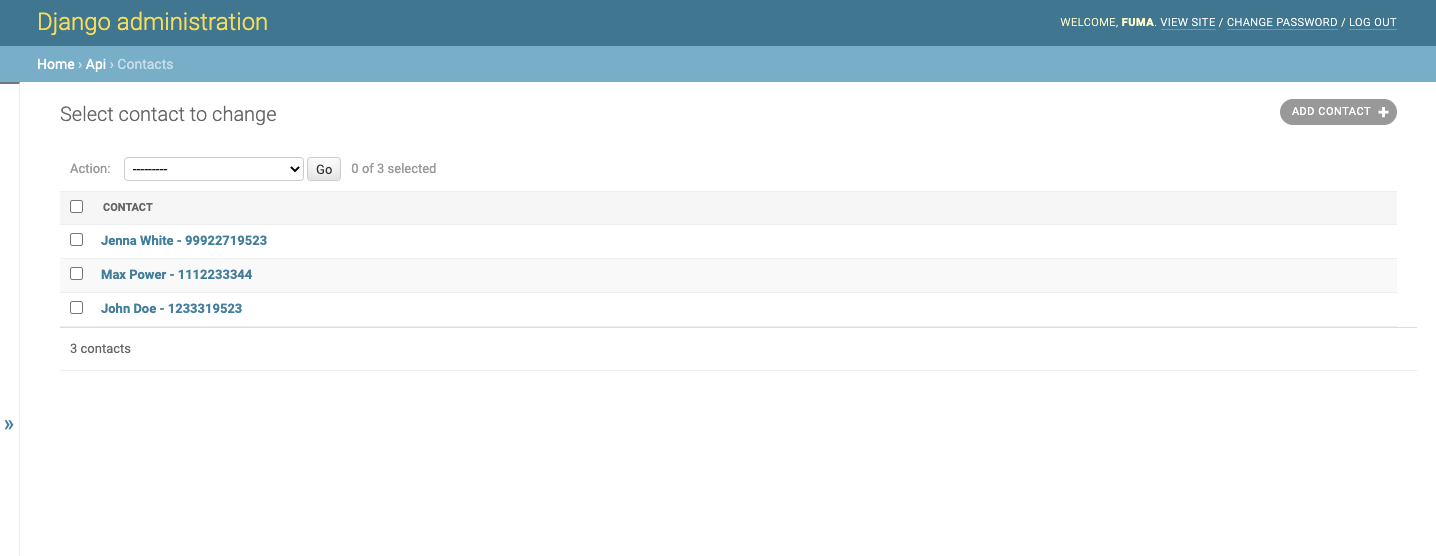
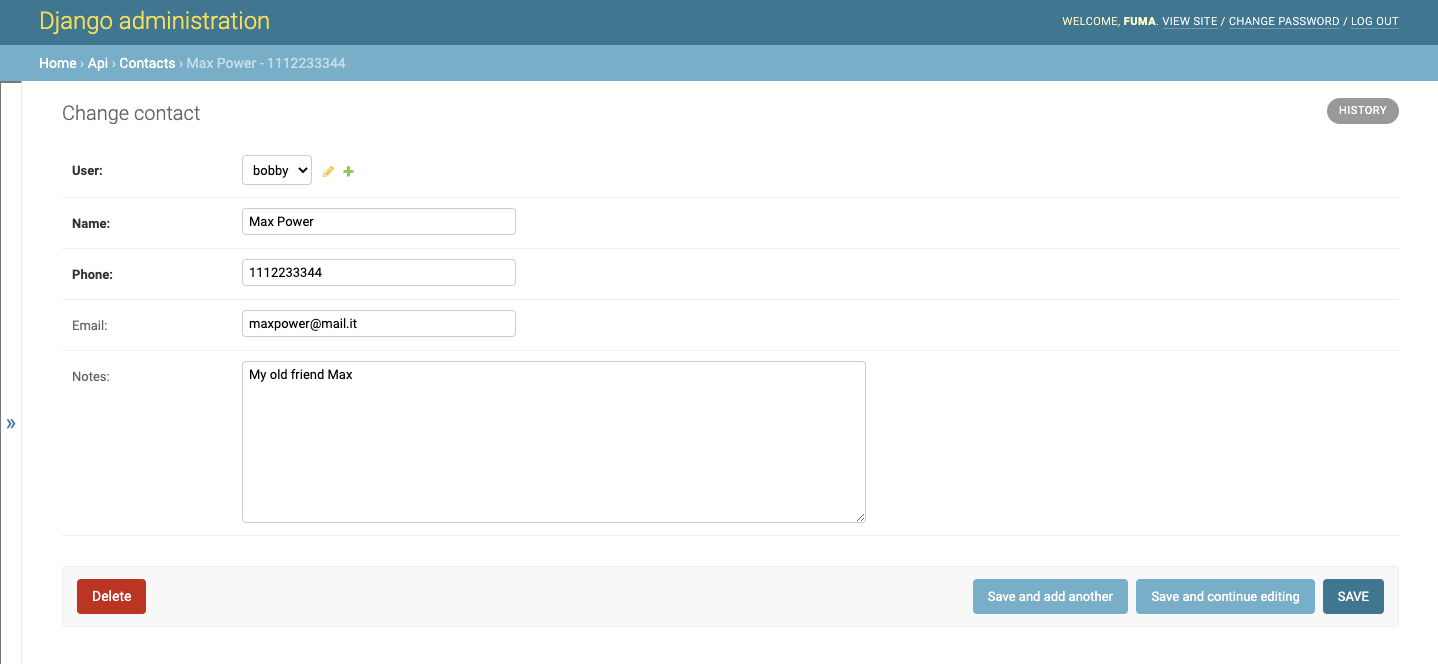
you should be able to login to the django admin interface with the user you created, and easily list and create contacts.
Contacts list in admin:
Edit via admin:
APIs with rest framework
Now that we defined our data model and enable the Django admin interface to edit them (in less than 20 lines of code and some management commands), let's implement a REST api that will be consumed by our React app.
We'll use the fantastic django rest framework package for this. Let's install it
pip install djangorestframework
And add it to the django INTALLED_APPS like we did with our api app:
# addressbook/settings.py
...
INSTALLED_APPS = [
        ...,
        'rest_framework',
        'api',
    ]
...
Adding rest framework to INSTALLED_APPS is not strictly required but it will enable the html rendering of APIs, wich will show an automatic interface to interact with your api in the browser, provided by rest framework itself.
We'll implement the rest enpoints for our Contact model using the ModelViewSet, that will provide us a full set of endpoints to interact with the database.
Django REST framework allows you to combine the logic for a set of related views in a single class, called a ViewSet. In other frameworks you may also find conceptually similar implementations named something like 'Resources' or 'Controllers'. (rest framework docs)
To do so we need to define a "serializer". As explained in the rest framework docs: "Serializers allow complex data such as querysets and model instances to be converted to native Python datatypes that can then be easily rendered into JSON, XML or other content types. Serializers also provide deserialization, allowing parsed data to be converted back into complex types, after first validating the incoming data."
In our case, the minimal implementation is the following:
# api/serializers.py

from rest_framework import serializers
from .models import Contact

class ContactSerializer(serializers.ModelSerializer):

    class Meta:
        model = Contact
        exclude = ('user', )
Now that we have a serializer, we can setup our endpoints.
We'll create a new file in our api folder called viewsets.py
# api/viewsets.py

from rest_framework import viewsets
from django.db import models
from rest_framework.permissions import IsAuthenticated
from .models import Contact
from .serializers import ContactSerializer


class ContactViewSet(viewsets.ModelViewSet):
    permission_classes = [IsAuthenticated]
    queryset = Contact.objects.order_by("name")
    serializer_class = ContactSerializer

    def get_queryset(self):
        qs = super().get_queryset()

        # Get only contact about current authenticated user
        qs = qs.filter(user=self.request.user)

        # Add search capabilities
        search = self.request.query_params.get("search", None)
        if search:
            qs = qs.filter(
                models.Q(name__icontains=search)
                | models.Q(phone__icontains=search)
                | models.Q(email__icontains=search)
            )

        return qs
Our viewset is implemented by subclassing the ModelViewSet class provided by rest framework. This is a common pattern in django development and it's very powerful as it enables various levels of customization by leveraging python inheritance model.
To define our viewset it's required to specify which will be the serialization class (our ContactSerializer defined above) and what is the base recordset we will operate on, with the queryset property.
In our viewset, we already implemented a few features:
- we restricted access to authenticated users only, by setting the property "permission_classes" on our class.
- we defined a custom
get_querysetmethod in order to enable search and limiting contacts returned by the api to those belonging to the user making the request. This is a sligtly more advanced topic, that requires to modify the base recordset, but as you can see it's implemented in a few lines of code, and it's quite easy to understand: first we take our base record set (qs = super().get_queryset()) and then we apply a filter for the current user (provided by the django auth system on therequestobject available in this contect) and for thesearchquerystring parameter, if present.
You should notice that we didn't write any SQL code to implement this full-featured CRUD rest api (filtered on current user) on our data model.
To finish our api implementation, we must tell django under which urls it will be available.
This is done with another component of rest framework called Router. The router is able to register different viewsets under common base paths and serve them as regular django views.
Let's create a separate file to declare all urls for our api app. The base code for registering our viewset is the following:
# api/urls.py

from django.urls import path
from rest_framework.routers import DefaultRouter
from .viewsets import ContactViewSet

router = DefaultRouter()
router.register(r'contacts', ContactViewSet)
urlpatterns = router.urls
Adding authentication
We use django-rest-framework-simplejwt to add authentication capabilities to our Django app.
This package implements a rest authentication pattern based on JSON Web Tokens.
First install it.
pip install djangorestframework-simplejwt
Then we configure it by adding a new authentication class to Django Rest Framework setting.
REST_FRAMEWORK = {
    ...
    'DEFAULT_AUTHENTICATION_CLASSES': (
        ...
        'rest_framework_simplejwt.authentication.JWTAuthentication',
    )
    ...
}
The last thing we need to do in order to have authentication up and running is to configure the authentication endpoints.
We'll edit the api/urls.py file and add auth urls using views provided by simplejwt out ot the box.
# api/urls.py

from django.urls import path
from rest_framework_simplejwt.views import (
    TokenObtainPairView,
    TokenRefreshView,
)

urlpatterns = [
    path('token/', TokenObtainPairView.as_view(), name='token_obtain_pair'),
    path('token/refresh/', TokenRefreshView.as_view(), name='token_refresh'),
]
Finally we add a /api/me endpoint to get the data about current logged user.
Let's add a serializer to describe user representation.
# api/serializers.py

from rest_framework import serializers
from django.contrib.auth import get_user_model

User = get_user_model()

class UserSerializer(serializers.ModelSerializer):
    class Meta:
        model = User
        exclude = ('password', )
Now we'll write a view to handle the request, inheriting from rest-framework APIView and defining the get method.
# api/views.py

from rest_framework.views import APIView
from rest_framework.permissions import IsAuthenticated
from rest_framework.response import Response
from .serializers import UserSerializer

class MeView(APIView):
    permission_classes = [IsAuthenticated]

    def get(self, request):
        serializer = UserSerializer(request.user)
        return Response(serializer.data)
Now we can add the MeView to our api urls.
# api/urls.py

from django.urls import path
from rest_framework_simplejwt.views import (
    TokenObtainPairView,
    TokenRefreshView,
)
from .views import MeView

...

urlpatterns = [
    path('token/', TokenObtainPairView.as_view(), name='token_obtain_pair'),
    path('token/refresh/', TokenRefreshView.as_view(), name='token_refresh'),
    path('me/', MeView.as_view(), name='me'),
]
Our server implementation is now complete.
Frontend
Now that we have our api setup, let's build the react frontend.
App scaffolding with create-react-app
We use the awesome Create React App to have our frontend ready with one single command.
yarn create react-app addressbook-frontend
cd addressbook-frontend
Now we add some libraries:
- react-router-dom Routing
- use-eazy-auth Authentication
- react-rocketjump API
- bootstrap CSS Framework
yarn add bootstrap react-router-dom use-eazy-auth react-rocketjump
Finally we configure the "proxy" attribute of package.json to match our Django server:
{
  "proxy": "http://localhost:8000"
}
Authentication and app setup
Now we configure our main App.
We use the API authentication endpoints defined by our Django App.
Read our previous blog post for a more detailed explanation about
the auth configuration with our use-eazy-auth library.
// src/App.js
import { BrowserRouter as Router, Switch } from "react-router-dom"
import Auth, { useAuthActions } from "use-eazy-auth"
import { AuthRoute, GuestRoute } from "use-eazy-auth/routes"
import { ConfigureRj } from "react-rocketjump"
import { map } from "rxjs/operators"
import { ajax } from "rxjs/ajax"
import Login from "./pages/Login"
import AddressBook from "./pages/AddressBook"

const login = (credentials = {}) =>
  ajax({
    url: "/api/token/",
    method: "POST",
    headers: {
      "Content-Type": "application/json",
    },
    body: credentials,
  }).pipe(
    map(({ response }) => ({
      accessToken: response.access,
      refreshToken: response.refresh,
    }))
  )

const me = token =>
  ajax.getJSON("/api/me/", {
    Authorization: `Bearer ${token}`,
  })

const refresh = refreshToken =>
  ajax({
    url: "/api/token/refresh/",
    method: "POST",
    headers: {
      "Content-Type": "application/json",
    },
    body: { refresh: refreshToken },
  }).pipe(
    map(({ response }) => ({
      refreshToken,
      accessToken: response.access,
    }))
  )

function ConfigureAuth({ children }) {
  const { callAuthApiObservable } = useAuthActions()
  return (
    <ConfigureRj effectCaller={callAuthApiObservable}>{children}</ConfigureRj>
  )
}

export default function App() {
  return (
    <Auth loginCall={login} meCall={me} refreshTokenCall={refresh}>
      <ConfigureAuth>
        <Router>
          <Switch>
            <GuestRoute path="/login" redirectTo="/">
              <Login />
            </GuestRoute>
            <AuthRoute path="/" exact redirectTo="/login">
              <AddressBook />
            </AuthRoute>
          </Switch>
        </Router>
      </ConfigureAuth>
    </Auth>
  )
}
Login Page
The login page should render a form where the user fill his credentials.
We use useAuthState() from use-eazy-auth to show login loading state and eventually error, then we use useAuthActions() to trigger the actually login and clear the login error when component unmount.
Thanks to <GuestRoute /> if the authentication credentials are ok the user
will be redirected to the address book page at /.
// src/pages/Login.js
import { useEffect, useState } from "react"
import { useAuthActions, useAuthState } from "use-eazy-auth"

export default function Login() {
  const { loginLoading, loginError } = useAuthState()
  const { login, clearLoginError } = useAuthActions()

  // Clear login error when Login component unmount
  useEffect(() => () => clearLoginError(), [clearLoginError])

  const [username, setUsername] = useState("")
  const [password, setPassword] = useState("")

  return (
    <form
      className="row mt-5 p-2"
      onSubmit={e => {
        e.preventDefault()
        if (username !== "" && password !== "") {
          login({ username, password })
        }
      }}
    >
      <div className="col-md-4 offset-md-4">
        <div className="mb-3">
          <h1>📒 Address Boook App</h1>
          <h2 className="mt-4">Please Log In</h2>
        </div>
        <div className="form-group">
          <input
            placeholder="@username"
            className="form-control"
            type="text"
            value={username}
            onChange={e => {
              clearLoginError()
              setUsername(e.target.value)
            }}
          />
        </div>
        <div className="form-group">
          <input
            placeholder="password"
            className="form-control"
            type="password"
            value={password}
            onChange={e => {
              clearLoginError()
              setPassword(e.target.value)
            }}
          />
        </div>
        <button className="btn btn-light" disabled={loginLoading}>
          {!loginLoading ? "Login!" : "Logged in..."}
        </button>
        {loginError && (
          <div className="alert alert-danger mt-3">
            Bad combination of username and password.
          </div>
        )}
      </div>
    </form>
  )
}
Address Book Page
In this page we show the contacts of our address book from /api/cotacts API.
To do this we'll use a library called react-rocketjump to handle side effects. The lib requires us to configure a "state" to handle the status of the api request and its results or errors sent by the server.
const ContactsState = rj({
  effectCaller: rj.configured(),
  effect: (token) => (search = '') =>
    ajax.getJSON(`/api/contacts/?search=${search}`, {
      Authorization: `Bearer ${token}`,
    }),
})
The effectCaller: rj.configured() tells react-rocketjump to use the effect
caller configured by the nearest <ConfigureRj />, thanks to this the effect horder
is enhanced and we can use the token from use-eazy-auth to fill the
Authorization header (This kind of authorization header is the one expected by our authentication setup on the server side).
Next we use the useRunRj hook to "run" our defined ContactsState, which will trigger our api call.
const [{ data: contacts }] = useRunRj(ContactsState, [search], false)
The second argument is passed to effect and cause them to re-execute if the reference changes, the last boolean
parameter false tells useRunRj to not clear our state when new effect is triggered.
Now we can use the contacts variable provided by the hook to iterate our contacts and show them
using the presentation <ContactCard /> component.
Finally we show the current authenticated username of our user and a logout button using the use-eazy-auth hooks.
// src/pages/AddressBook.js
import { useState } from 'react'
import { rj, useRunRj } from 'react-rocketjump'
import { ajax } from 'rxjs/ajax'
import { useAuthActions, useAuthUser } from 'use-eazy-auth'
import ContactCard from '../components/ContactCard'

const ContactsState = rj({
  effectCaller: rj.configured(),
  effect: (token) => (search = '') =>
    ajax.getJSON(`/api/contacts/?search=${search}`, {
      Authorization: `Bearer ${token}`,
    }),
})

export default function AddressBook() {
  const { user } = useAuthUser()
  const { logout } = useAuthActions()
  const [search, setSearch] = useState('')
  const [{ data: contacts }] = useRunRj(ContactsState, [search], false)

  return (
    <div className="row mt-2 p-2">
      <div className="col-md-6 offset-md-3">
        <div className="mb-3 text-center">
          <h1>
            📒 Address Boook App of <i>@{user.username}</i>
          </h1>
        </div>
        <div className="text-right">
          <button onClick={logout} className="btn btn-light">
            Log Out
          </button>
        </div>
        <div className="mt-2">
          <input
            value={search}
            onChange={e => setSearch(e.target.value)}
            placeholder="Search for a contact"
            style={{ fontSize: 22 }}
            className="form-control"
          />
        </div>
        <div className='list-item mt-5'>
          {contacts &&
            contacts.map((contact) => (
              <ContactCard key={contact.id} contact={contact} />
            ))}
        </div>
      </div>
    </div>
  )
}
Final notes
In this post we covered a basic implementation of a rest API in Django, authenticated with JWT tokens, and we developed a read-only React app using this API.
Stay tuned for the next posts in this serie, where we'll cover more advanced topics:
- writing data from react to django (with client and side form validation)
- paginating list of contacts and consuming the paginated api from React
- deploying with docker and docker compose
We're also preparing some dedicatied posts about the react-rocketjump library used in this article.
Thanks for reading! If you found this article intesting let us know on twitter @inmagiklabs.